Make Your Own Monogram Placemats
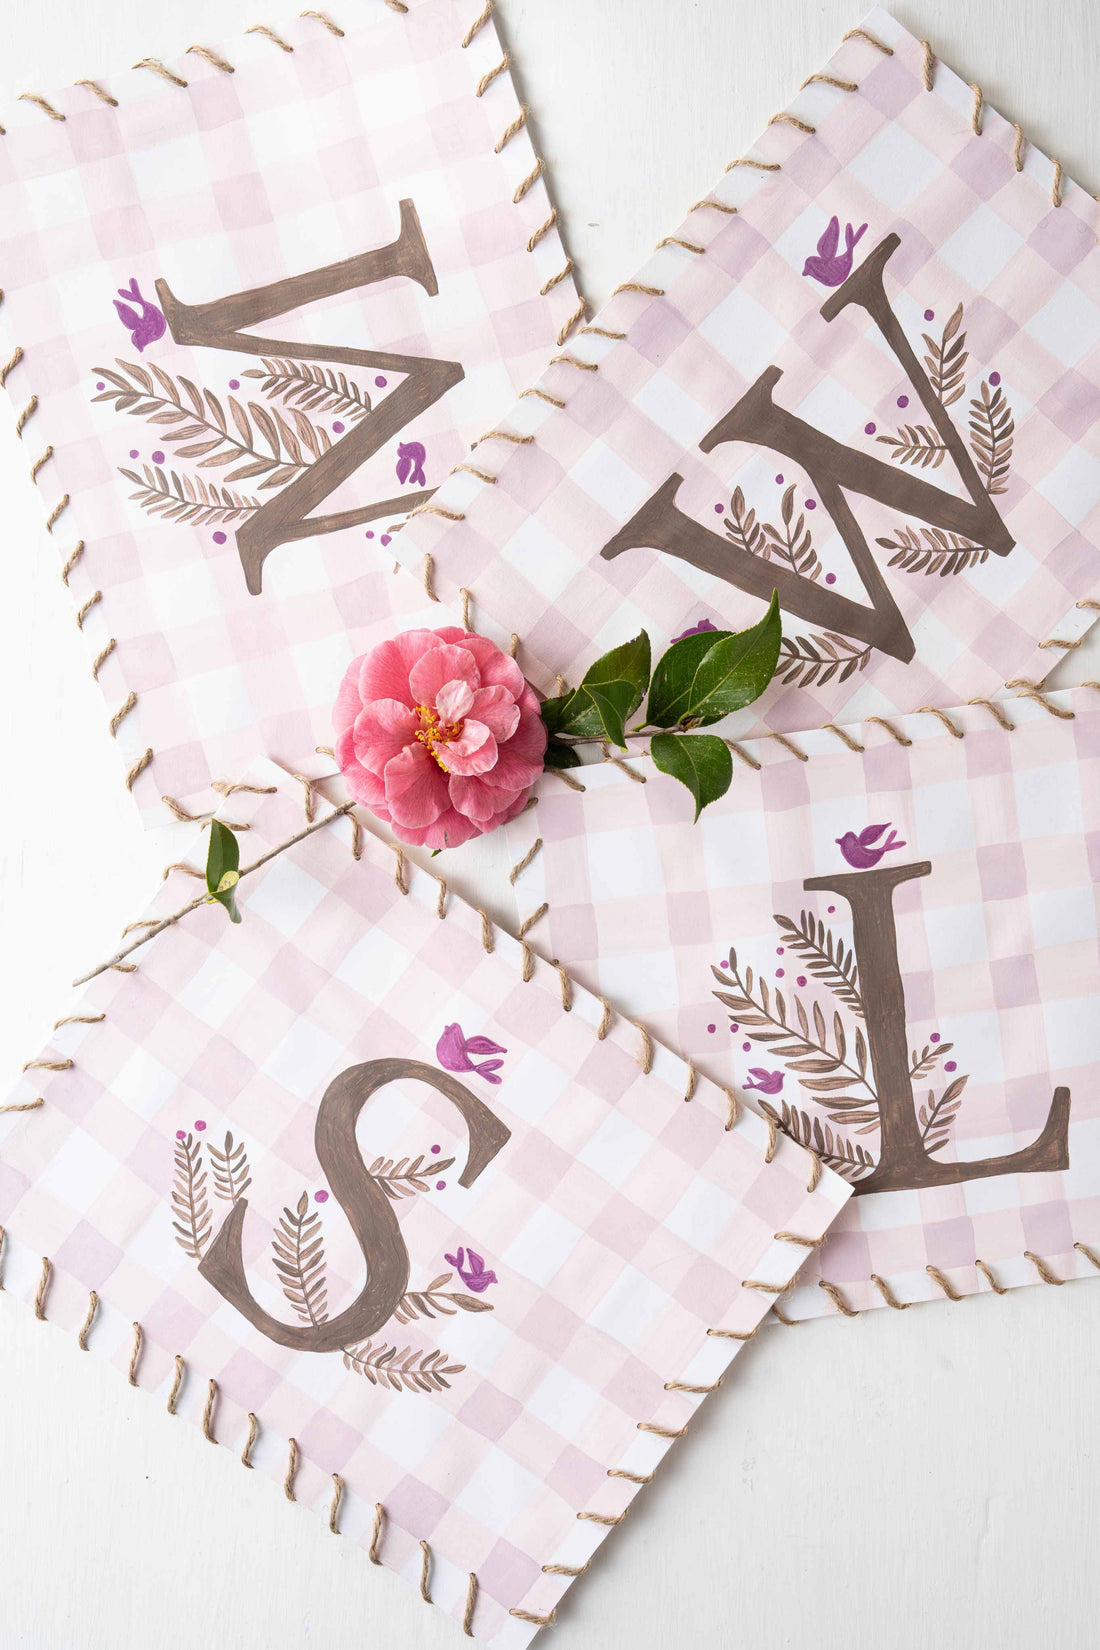
Looking to add a personalized touch to your dining table? Whether you’re hosting a dinner party, a holiday gathering, or just want to spice up your daily meals, creating your own monogram placemats is a delightful way to impress your guests. Here’s a simple step-by-step guide to making these charming and customizable placemats.
Materials Needed:
Cardstock paper (12x14 inches) or poster board cut to size
Acrylic paint in three shades (e.g., two shades of pink and one brown)
Paint brushes (one ½ inch and one smaller for detail work)
Ruler
Pencil or charcoal
Printer and paper for the monogram
Small hole punch (1/8 inch)
Jute cord
Optional: additional colors or designs for decoration

Instructions:
Step 1: Choose Your Color Scheme
Select a gingham pattern color scheme with three shades. For a soft, feminine look, you might choose two shades of pink (one light and one dark) for the gingham and a complementary brown for the monogram.

Step 2: Mark Your Grid
Using a ruler, lightly mark lines on your cardstock to create a grid pattern. A typical measurement for each square is 1-inch, but feel free to adjust based on the size of your placemat and personal preference.
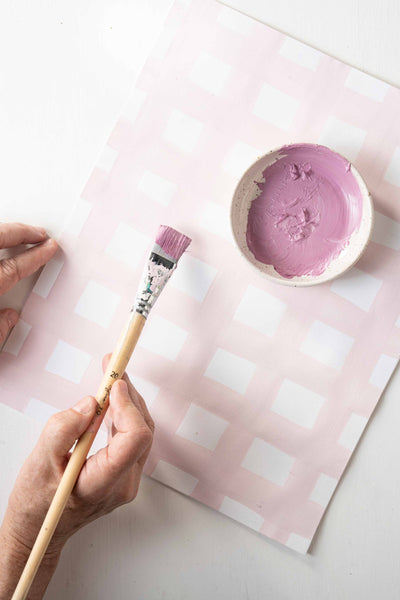
Step 3: Paint the Gingham Pattern. Begin by painting the grid lines with your lighter shade of pink using a ½ inch brush. Allow the paint to dry completely. Then, use the darker pink to fill in the squares at each intersection of the grid lines. Let this layer dry fully to prepare for the monogram.
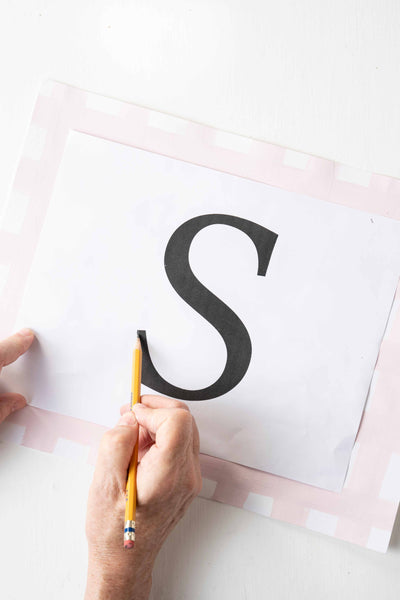
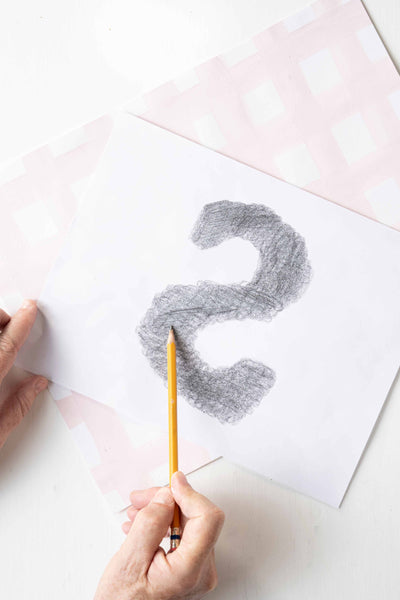
Step 4: Create the Monogram. Print out a large letter (the initial of the guest or family member) on a regular sheet of paper—it should nearly fill the page. Rub the back of the paper over the letter with a pencil or charcoal to transfer the monogram. Flip the paper, place it centered on the placemat, and trace the outline to transfer a light sketch of the letter onto the placemat.
Step 5: Paint the Monogram
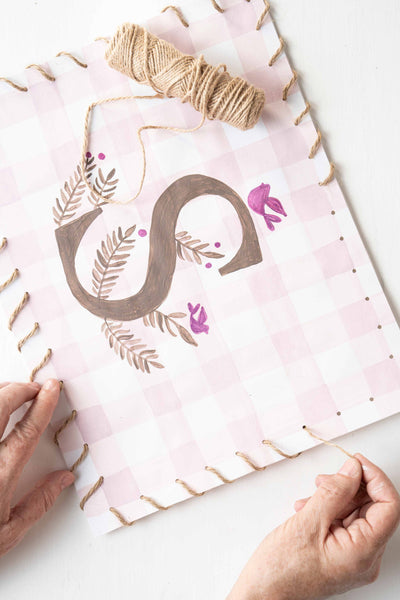
Using a smaller brush and brown paint, trace and fill in the monogram on each placemat. Add any additional designs or decorations, such as floral motifs, if desired. Allow everything to dry thoroughly.
Step 6: Add a Handcrafted Touch
Punch small holes in line with the grid around the perimeter of the placemat, maintaining a consistent distance from the edge. Weave the jute cord through the holes, wrapping from front to back and over the sides to frame your placemat beautifully. Secure the ends of the cord on the back.
Step 7: Display and Enjoy!
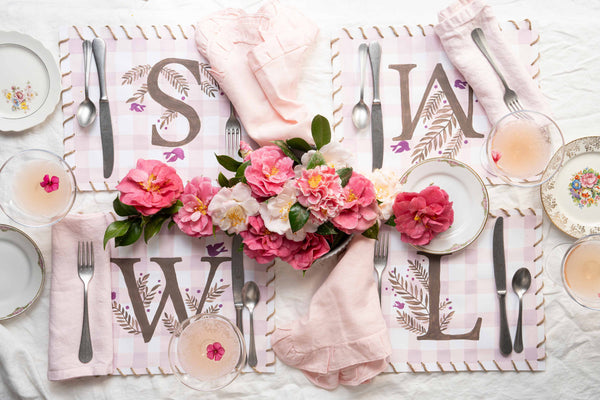
Place these beautiful handmade placemats at each setting on your table. They not only elevate your table decor but also make wonderful gifts for your guests to take home and remember the meal by.
Experiment with colors, add unique designs, and make each placemat a testament to your creativity and thoughtfulness. Enjoy crafting and happy hosting!
#savethebees
Published


